To extract short clips from a vertical livestream without distorting the frame, you must maintain the original 1080x1920 aspect ratio throughout your editing timeline and strictly observe platform UI safe zones. Unlike repurposing horizontal video, clipping a 9:16 broadcast—such as an Instagram Live or a mobile Twitch stream—requires zero reframing. Instead, the workflow focuses on trimming the source file, removing dead air, and placing captions in the center-middle of the screen so they are not obscured by native engagement buttons, descriptions, or profile icons.
Social media managers often struggle with this process because default editing sequences and automated tools are heavily biased toward converting 16:9 landscape footage into 9:16 portrait footage. When a video is already vertical, applying standard reframing algorithms can result in stretched pixels, distorted faces, or awkward zooming. This tutorial covers the exact technical workflow for managing native 9:16 source files.
The Challenge of 9:16 to 9:16 Clipping
When you download a broadcast from a platform like Instagram or TikTok, the video file is already optimized for mobile viewing. The primary challenge is not aspect ratio conversion, but rather UI (User Interface) management.
Every short-form video platform overlays its own interface on top of your video. This includes the creator's profile picture, the like and comment buttons on the right side, and the caption and music track information at the bottom. When clipping a vertical livestream, the original broadcast may have had its own UI elements baked into the screen recording, or the creator may have positioned themselves in a way that works for a live broadcast but fails when repurposed as a Reel or Short.
If you simply cut a segment and add large subtitles at the bottom of the screen, those subtitles will be unreadable once posted. Managing these safe zones is the most critical step in vertical video clipping.
Retrieving Vertical Livestream Source Files
The first step in the workflow is acquiring the highest quality source file. Screen recording a livestream on your phone introduces compression artifacts, reduces the frame rate, and bakes the live chat and UI directly into the video file, making clean editing impossible.
Instead, you should download the raw Video on Demand (VOD) file directly from the platform's backend:
- TikTok: Creators can access their past broadcasts directly within the app. The platform stores Live replays for 90 days, allowing account owners to download the clean, UI-free 9:16 video file to their device for repurposing.
- Twitch: While traditionally a landscape platform, Twitch now heavily supports vertical streaming and viewing. Viewers and editors can capture moments using Twitch's clip feature, which generates a shareable segment. For full editing control, channel managers should download the complete VOD from the Creator Dashboard.
- Instagram: Live broadcasts can be saved to the Live Archive immediately after the stream ends. From the archive, managers can download the raw video file to their camera roll or desktop.
Step-by-Step Workflow for Vertical Video Clipping
Once you have the clean 9:16 source file, follow this workflow to extract clips without introducing distortion.
1. Set Up the Correct Sequence
Import your video into your non-linear editor (NLE) of choice. Before dragging the footage onto the timeline, verify your sequence settings. The sequence must be exactly 1080 pixels wide by 1920 pixels high (a 9:16 aspect ratio). The frame rate should match the source file, which is typically 30fps or 60fps for livestreams.
If you accidentally place a 9:16 video into a 16:9 sequence, the editor will add black bars to the sides (pillarboxing). If you then export this and upload it to a vertical platform, the video will appear tiny in the center of the screen.
2. Trim and Cut for Retention
Livestreams are inherently slow-paced. They include pauses to read chat, setup time, and conversational tangents. Short-form clips require a much higher density of information.
Scrub through the timeline and isolate the core message or most entertaining moment. Remove all dead air, filler words, and unnecessary context. The goal is to create a seamless, fast-paced narrative that holds attention from the first frame.
3. Apply Safe Zone Overlays
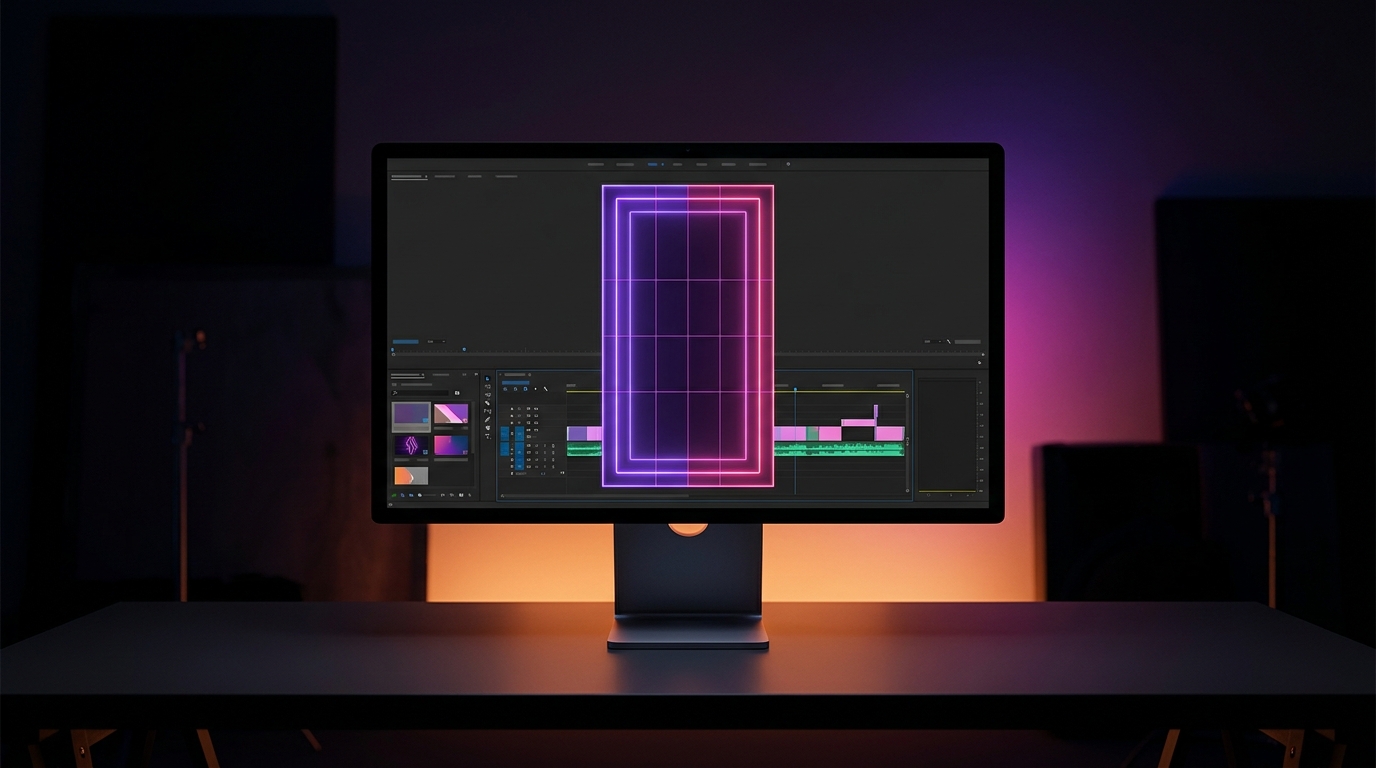
Before adding any text, graphics, or B-roll, apply a safe zone overlay to your timeline. You can download transparent PNG templates online that map out the exact UI blocking for TikTok, Reels, and Shorts.
Generally, you must avoid:
- The bottom 20% of the screen (obscured by captions and usernames).
- The right 15% of the screen (obscured by engagement buttons).
- The very top edge (obscured by the platform's navigation bar).
Keep all crucial visual information and added text within the center "safe" rectangle. Running your final edit against a 10-Item Viral Clip Checklist for 2026 (Before You Post) can help ensure you haven't violated these spatial rules.
4. Add Dynamic Captions
Because many users watch short-form video on mute, captions are essential. Generate captions for your trimmed clip and position them directly in the center of the screen, slightly below the speaker's face. Ensure the font is legible and stands out against the background. Since the source file is already vertical, you do not need to worry about the captions shifting off-screen due to reframing.
Export Settings for Maximum Quality
Distortion often occurs at the final hurdle: the export process. To maintain the crispness of the original livestream, double-check your export parameters.
- Resolution: 1080x1920.
- Format: H.264 (MP4) or HEVC (H.265).
- Bitrate: Aim for a target bitrate of 10-15 Mbps. Exporting at excessively high bitrates (like 50 Mbps) will force the social media platform to heavily compress the file upon upload, which actually results in a lower-quality final video.
- Color Space: Rec. 709. Avoid exporting in HDR unless you are specifically managing an HDR workflow, as it can cause the video to appear blown out or overly bright on standard mobile screens.
Scaling Your Clipping Operations
Manually downloading, trimming, and formatting hours of vertical livestreams is highly time-consuming. For social media managers handling daily broadcasts, the manual workflow quickly becomes a bottleneck.
To increase output, teams often transition to automated systems. Implementing a workflow that allows you to Bulk Editing AI: Ship 50 Viral Clips a Week Without an Editor involves using software that can ingest long VODs, identify high-engagement moments based on audio cues, and automatically apply safe-zone-compliant captions.
Once your clips are published, tracking their performance is the next step. Reviewing the 8 Essential Metrics to Master Short Form Video Analytics will help you understand which segments of your livestreams resonate best with the short-form audience, allowing you to refine your clipping strategy over time.
If you are looking to streamline this entire process, Viral Day is an AI clipping platform built for modern workflows. With an entry plan at $9.99/month with 30 hours of processing, you can upload source videos up to 10 hours long. The platform features AI-assisted clip selection, automatic captions with styles derived from After Effects compositions, and Real Prisma proprietary multimodal reframing for 9:16 video. For livestreamers, Viral Day even supports live-broadcast clipping on Twitch and Kick before the stream ends, allowing you to export native 4K clips directly to your social channels.