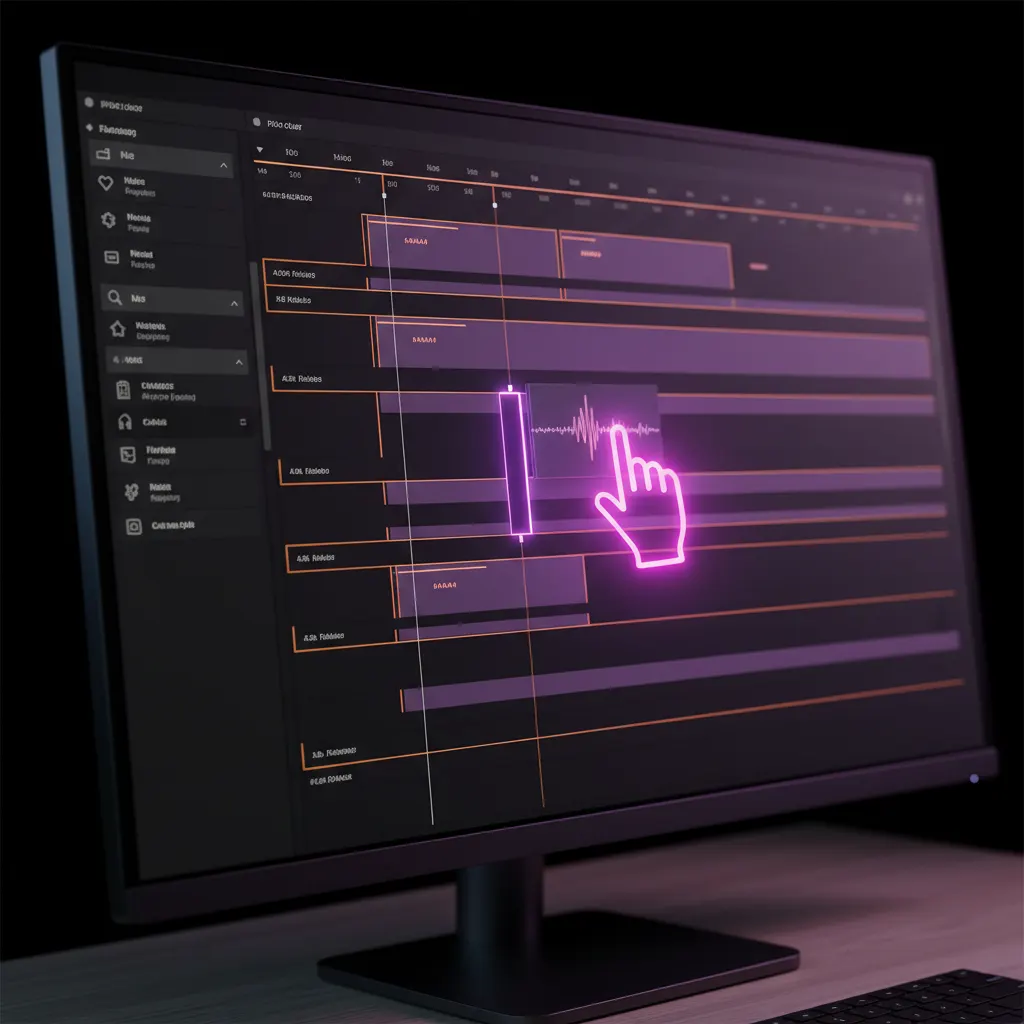
Hiding jump cuts in AI-generated clips requires decoupling your audio and video tracks to place relevant B-roll directly over the edit point. When AI tools automatically remove filler words or dead air, they create abrupt visual skips that disrupt the viewer's experience. By dropping a secondary video clip (B-roll) onto the timeline slightly before the cut and extending it past the edit, you mask the jarring visual transition. The viewer hears a seamless, fast-paced audio track while watching visually engaging footage, completely hiding the underlying edit.
Why AI Filler Word Removal Creates Visual Jumps
Modern content creation relies heavily on text-based editing. When you import a talking-head video into an AI editor, the software transcribes the audio and allows you to edit the video by deleting text. If the speaker says "um," pauses for three seconds, or repeats a phrase, the AI can strip those moments out instantly.
While this creates a tight, highly engaging audio track, it wreaks havoc on the visual continuity. Because the video track is locked to the audio track, removing a half-second of audio removes the corresponding half-second of video. This results in a jump cut, which occurs when a sequential shot skips forward in time, causing the subject to snap suddenly to a new position on screen.
In short-form content, a few jump cuts can feel energetic and raw. However, when an AI tool removes twenty filler words from a 60-second clip, the resulting footage becomes a jittery, unwatchable mess. The viewer's eye is constantly drawn to the unnatural shifting of the speaker's head and hands, distracting from the core message.
Step-by-Step: Hiding Jump Cuts with B-Roll Overlays
The most effective way to disguise these automated edits is by utilizing B-roll—supplementary footage that provides context to the primary shot (the A-roll). When you place B-roll over a jump cut, the viewer's attention shifts to the new footage while the audio continues seamlessly underneath.
Here is how to execute this technique effectively:
- Identify the harsh edits: Play through your AI-edited clip and flag the most jarring visual transitions. Minor micro-cuts might be acceptable, but larger shifts in posture or facial expression need masking.
- Select contextual footage: Choose B-roll that directly relates to the words being spoken during the cut. If you are explaining how to add auto B-roll AI to generated clips (2026), your overlay should show the software interface in action.
- Overlay the video track: Drag your chosen B-roll clip onto the video track directly above your main footage. Ensure that the B-roll's audio is muted so it doesn't interfere with your primary dialogue.
- Adjust the timing: Do not start the B-roll exactly on the cut. Instead, bring the B-roll in about a half-second before the jump cut occurs, and let it play for at least one to two seconds after the cut. This prevents the edit from feeling like a glitch.
Timing and Pacing Your Visual Transitions
The goal of masking a cut is to make the video feel natural. If your B-roll flashes on screen for only a fraction of a second just to hide a cut, it will feel like a mistake.
Proper pacing requires the B-roll to stay on screen long enough for the viewer to process the image. A standard rule is to leave B-roll on screen for 2 to 5 seconds. If you have two jump cuts that are only a second apart, do not use two separate pieces of B-roll. Instead, stretch a single piece of B-roll over both cuts to create a smoother viewing experience.
Understanding how to use B-roll in AI generated clips correctly also means paying attention to the rhythm of the speech. Try to cut to the B-roll on a hard consonant or at the beginning of a new sentence, even if the actual jump cut happens a few words later.
Alternative Techniques for Smoothing Harsh Edits
While B-roll is the most engaging way to hide edits, it is not the only method available. Depending on your workflow and the style of your video, you can use a mix of techniques to maintain visual continuity when a jump cut breaks the flow of your A-roll.
Scale-Ins (Punch-Ins): If you do not have relevant B-roll, you can hide a jump cut by changing the scale of the footage at the exact moment of the edit. For example, if your primary shot is scaled at 100%, change the scale of the clip immediately following the cut to 115%. This makes the jump cut look like an intentional camera angle change (moving from a medium shot to a close-up) rather than a deletion of dead air.
Multimodal Reframing: Similar to scaling, you can shift the position of the subject in the frame. If the subject is centered before the cut, you can reframe them slightly to the left or right after the cut, provided you are scaling in enough to hide the edges of the original video.
Morph Cuts: Some traditional non-linear editors offer "morph cut" transitions, which use optical flow technology to interpolate the missing frames between a jump cut, effectively melting the two clips together. While this can work for very minor cuts where the subject barely moved, it often creates a warped, unnatural distortion around the subject's face when used on larger jumps.
Streamlining Your Workflow with Viral Day
Manually masking dozens of jump cuts in a short-form video can defeat the purpose of using AI in the first place. If you are spending hours manually dropping B-roll over automated cuts, your workflow is inefficient.
Viral Day is an AI clipping platform designed to handle the heavy lifting of short-form video creation. The platform features AI-assisted clip selection that analyzes footage across 18 viral-potential signals, ensuring your most engaging moments are isolated automatically.
Instead of wrestling with jarring transitions, Viral Day provides a professional video editor equipped with bulk editing capabilities and real Prisma proprietary multimodal reframing for 9:16 video. This ensures that even when filler words are removed, the resulting clips maintain professional pacing and framing. The platform also generates automatic captions with styles derived from After Effects compositions, allowing you to export natively in 4K.
For creators looking to scale their output, Viral Day allows you to process source videos up to 10 hours long. The entry plan starts at $9.99/month with 30 hours of processing time. For plans that include social publishing, you can schedule content up to 60 days ahead with unlimited posts to supported social networks, allowing you to build a consistent presence without getting bogged down in manual timeline adjustments.