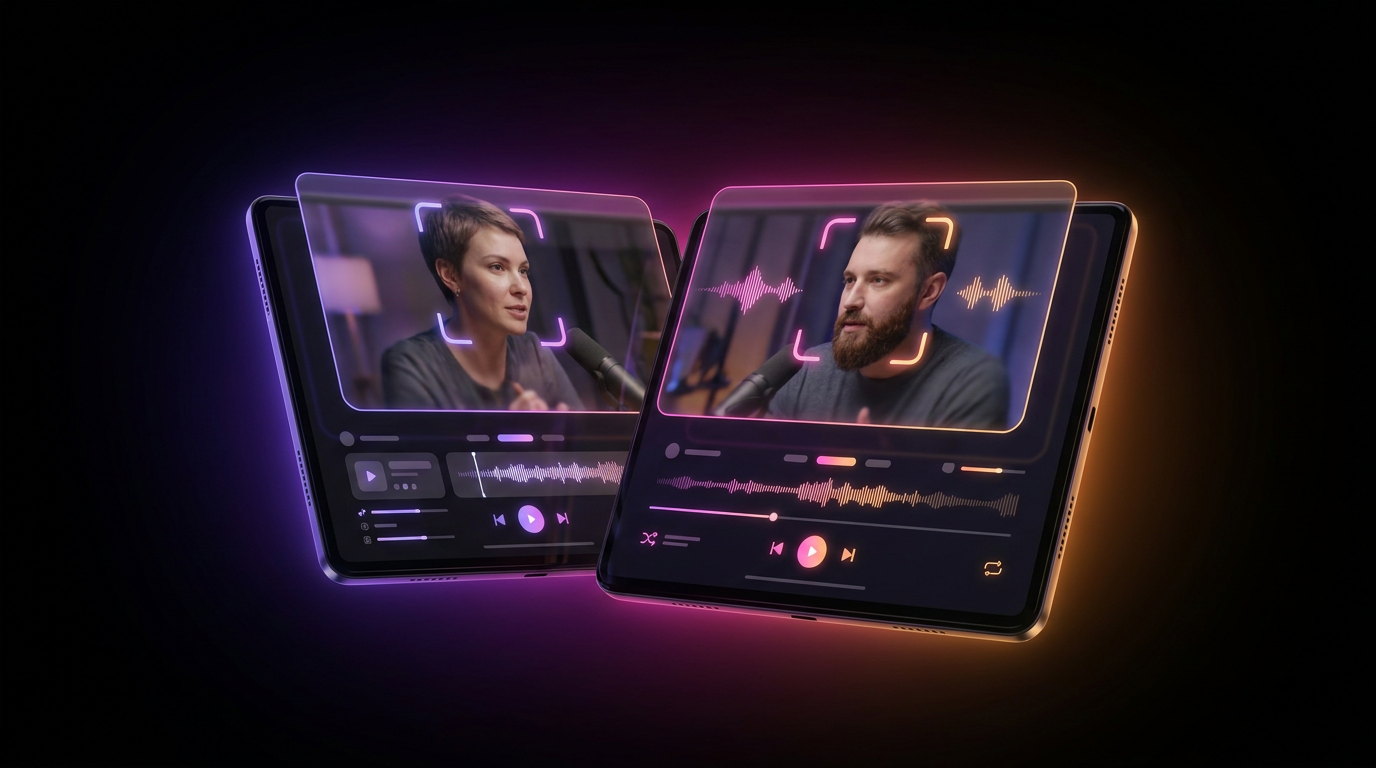
Audiences will forgive a slightly out-of-focus camera, poor lighting, or a 720p resolution. But they will not forgive bad audio. If your podcast sounds like it was recorded inside a tin can next to a busy highway, viewers will scroll past your short-form clips in less than half a second. Before feeding your long-form video into an AI clipping tool, you must ensure the vocal tracks are pristine. Learning how to clean podcast audio AI tools effectively is the secret weapon of top-tier video editors and content creators.
When you upload a raw podcast episode to AI clippers like Opus Clip, Submagic, or Vizard, the first thing the software does is transcribe the dialogue. If the audio is muddy, filled with room echo, or masked by air conditioning hum, the AI transcription engine (often based on OpenAI's Whisper model) will hallucinate words. This leads to inaccurate captions, missed viral moments, and hours of manual correction.
In this guide, we will break down the exact workflows, tools, and technical settings required to prepare your video for clipping. By the end, you will know exactly how to achieve studio-quality sound that maximizes viewer retention and algorithm reach.
Why Pre-Cleaning Audio is Crucial for AI Video Clippers
The short-form video ecosystem operates on microscopic attention spans. When someone swipes onto your TikTok or Instagram Reel, the first 0.5 seconds determine whether they stay or leave.
AI video clipping tools analyze your audio to determine the emotional peaks, punchlines, and high-retention segments of a podcast. If you feed these tools raw, unmastered audio, you trigger a chain reaction of failures:
- Transcription Errors: Background noise confuses speech-to-text algorithms. "We need to scale" might be transcribed as "We need a snail," forcing you to manually edit the dynamic text.
- Poor Pacing: AI clippers use pauses and breath sounds to determine where to cut the video. Heavy background noise masks these natural pauses, resulting in jarring, abrupt cuts that interrupt the speaker mid-sentence.
- Algorithm Penalties: TikTok and YouTube Shorts algorithms measure watch time. Muddy audio creates cognitive friction for the listener, leading to a 30% or higher drop in average view duration.
To avoid this, you must integrate a clean podcast audio AI step into your workflow before generating your shorts.
Top AI Audio Enhancement Tools for Podcasters
The days of manually tweaking EQ curves, setting up complex noise gates, and dialing in multiband compressors are largely over for content repurposing. Today, AI audio enhancement tools can turn a bedroom recording into a studio-grade master in seconds.
Here are the top tools currently dominating the market:
1. Adobe Podcast AI (Speech Enhancement)
Adobe's free AI tool is arguably the most aggressive noise-reduction software available. You simply drag and drop your audio file, and it uses machine learning to reconstruct the vocal frequencies while completely eliminating background noise and room echo. Pro Tip: Adobe Podcast can sometimes make voices sound slightly robotic if the original audio is extremely poor. Use the "Strength" slider (available to premium users) to dial the enhancement back to 70-80% for a more natural sound.
2. Descript (Studio Sound)
Descript is a powerhouse for podcast editing, and its "Studio Sound" feature is an industry favorite. It automatically applies EQ, compression, and noise reduction. The advantage of Descript is that it integrates directly into a text-based video editing workflow. You can set the Studio Sound intensity to 85%, which usually retains the natural timbre of the speaker's voice while killing room reverb.
3. Auphonic
Auphonic is less about aggressive noise removal and more about intelligent leveling. If you have a podcast with two hosts—one who whispers and one who screams—Auphonic's AI will automatically balance their volumes (Leveler), apply a gentle noise gate, and master the final track to the exact LUFS (Loudness Units relative to Full Scale) required by social platforms.
4. CapCut (Isolate Voice)
For creators working entirely on mobile or using a quick desktop workflow, CapCut offers an "Isolate Voice" or "Reduce Noise" feature. While not as sophisticated as Adobe or Descript, it is incredibly fast and gets the job done for minor background hums and air conditioner noise.
Tool Comparison Overview
| Tool | Best Feature | Ideal Use Case | Processing Speed |
|---|---|---|---|
| Adobe Podcast AI | Aggressive noise removal | Fixing terrible, echoey audio | Moderate |
| Descript | Studio Sound + EQ | All-in-one podcast editing | Fast |
| Auphonic | Auto-leveling & Mastering | Balancing multiple speakers | Fast |
| CapCut | Built-in Isolate Voice | Quick social media edits | Instant |
Step-by-Step: How to Clean Podcast Audio with AI
To get the best results from your AI clipping workflow, you need a systematic approach. Do not just throw your raw MP4 into an audio enhancer. Follow these precise steps to prepare your video for clipping.
Step 1: Export Uncompressed Audio
First, isolate the audio from your long-form video file in your primary editor (Premiere Pro, Final Cut, or DaVinci Resolve). Export the audio as a high-quality, uncompressed WAV file. Optimal Settings: 48kHz sample rate, 24-bit depth. Do not export as an MP3, as the compression artifacts will confuse the AI enhancement tools.
Step 2: Run Through Your Chosen AI Enhancer
Upload the WAV file to your clean podcast audio AI tool of choice (e.g., Adobe Podcast or Descript). If the tool allows for intensity adjustments, do not default to 100%. Listen to the playback. If the speaker sounds like they are underwater or slightly robotic, reduce the enhancement strength to 75%. Your goal is clean, natural speech, not a sterile, artificial voice.
Step 3: Master for Social Media Loudness
Short-form platforms have strict loudness standards. If your audio is too quiet, users won't hear it over the platform's UI sounds. If it's too loud, TikTok will aggressively compress it, ruining the dynamic range. Use a tool like Auphonic or a limiter plugin to master your enhanced audio to -14 LUFS with a true peak of -1dB. This is the golden standard for TikTok, Reels, and Shorts.
Step 4: Re-Sync and Export the Master Video
Bring the newly cleaned and mastered WAV file back into your video editor. Mute the original camera audio track and sync the new AI-enhanced track. Ensure the sync is frame-accurate. Once synced, export the full long-form video as an MP4 (H.264 or H.265, 1080p or 4K).
Now, your video is perfectly prepped. When you feed this file into an AI clipping software, the transcription will be 99% accurate, the AI will perfectly detect the pacing, and the resulting shorts will sound incredibly professional.
Pre-Clipping Checklist: Optimizing for the Algorithm
Before you let an AI chop up your podcast, run through this quick checklist to ensure maximum algorithm compatibility:
- Crosstalk Removed: If two podcast hosts are talking over each other constantly, AI clippers struggle to assign captions to the correct speaker. If possible, use a slight audio ducking technique on the secondary track before exporting.
- Mic Bumps and Plosives Muted: AI enhancement tools are great at removing steady background noise, but sudden, loud mic bumps or harsh "P" sounds (plosives) can still slip through. Manually cut these out or use a De-Plosive plugin.
- Dead Air Trimmed: While AI clippers automatically remove silences, trimming massive chunks of dead air or off-topic bathroom breaks before uploading saves processing time and credits.
Once your audio passes this checklist, you are ready for the final, most crucial step: generating the viral clips. This is where choosing the right clipping tool makes all the difference. When your audio is pristine, feeding it into a sophisticated tool like Viral Day ensures that the AI can perfectly analyze the emotional cadence of the speech, cutting exactly where the punchline lands.
Common Audio Mistakes That Ruin AI Clips
Even with the best AI tools, human error can sabotage the final product. Avoid these common pitfalls when preparing your podcast audio.
The "Underwater Robot" Effect
This is the most common mistake novice editors make. When you apply 100% noise reduction to a track that already has decent audio, the AI begins to strip away the natural frequencies of the human voice. The result is a metallic, warbling sound that resembles a robot talking underwater. Always cross-reference your enhanced audio with the raw file. Sometimes, a little bit of natural room tone is preferable to a sterile, robotic vocal.
Ignoring LUFS Peak Limits
We mentioned -14 LUFS earlier, but it bears repeating. Many creators rely on the AI clipping tool to normalize their audio. Tools like Klap or Munch do a decent job, but they are not dedicated audio mastering suites. If you upload a video peaking at -3 LUFS, the platform compression will crush your audio, making it sound distorted on mobile phone speakers. Master your audio before clipping.
Clipping Before Enhancement
"Clipping" in the audio world means the microphone signal was too hot and exceeded 0dB, resulting in permanent digital distortion. (Do not confuse this with "clipping" a video into shorts). No clean podcast audio AI can perfectly fix heavily distorted, blown-out audio. The best fix happens during production: always record your podcast at conservative levels, aiming for an average of -12dB to -6dB on your meters.
From Clean Audio to Viral Shorts: The Final Step
You have successfully isolated the dialogue, removed the hum of the air conditioner, leveled the voices, and exported a master video file. Now, it is time to turn that one-hour podcast into 15 viral shorts.
While tools like Opus Clip, Vizard, Submagic, and Munch are popular choices for generating shorts, they often come with high subscription costs and generic feature sets. If you want to maximize the ROI of your freshly cleaned audio, you need an AI that goes beyond simply chopping up video.
This is where Viral Day excels as the ultimate Opus Clip alternative. Because you took the time to provide it with crystal-clear audio, Viral Day's engine can accurately evaluate your content against 18 distinct viral parameters. It doesn't just look for keywords; it analyzes the pacing, tone, and context of your perfectly mastered vocals to find the most engaging hooks.
Furthermore, Viral Day offers features that traditional clippers lack. It includes precise face tracking to keep your hosts centered, a comprehensive brand kit for custom dynamic captions, and crisp 1080p exports. Most importantly, it completely automates your distribution. Instead of downloading 15 clips and manually uploading them to TikTok, Instagram Reels, and YouTube Shorts, Viral Day auto-posts your content directly to your social channels. It even features an AI auto-reply system to manage comments and DMs, driving engagement while you sleep—all at roughly 4x cheaper than leading competitors.
Conclusion
High-quality audio is the non-negotiable foundation of successful short-form content. If you skip the audio cleaning process, you are actively sabotaging your video's potential reach. By implementing a dedicated clean podcast audio AI workflow—exporting uncompressed WAVs, utilizing tools like Adobe Podcast or Descript, and mastering to -14 LUFS—you guarantee that your AI clipping software has the best possible data to work with.
Don't let muddy audio ruin your best podcast moments. Take the time to clean your tracks, and then let an advanced AI handle the rest. Ready to turn your pristine podcast audio into a fully automated viral content machine? Try Viral Day for free today and experience the difference of 18-parameter viral analysis and automated social posting.